การติดตั้ง Python + JupyterLab บน Windows 10
ติดตั้ง Python, JupyterLab, Pandas และ Plotly แล้วเปิดใช้งานผ่าน Visual Studio Code บน Windows 10

แนะนำการติดตั้ง Python + Jupyter Lab และการใช้งานผ่าน Visual Studio Code บน Windows 10
เตรียมการติดตั้ง
โปรแกรมที่จำเป็น
โปรแกรมที่ควรมีก่อนการติดตั้ง
ขั้นตอนการติดตั้ง
ติดตั้ง Python 3.9 ผ่าน Microsoft Store
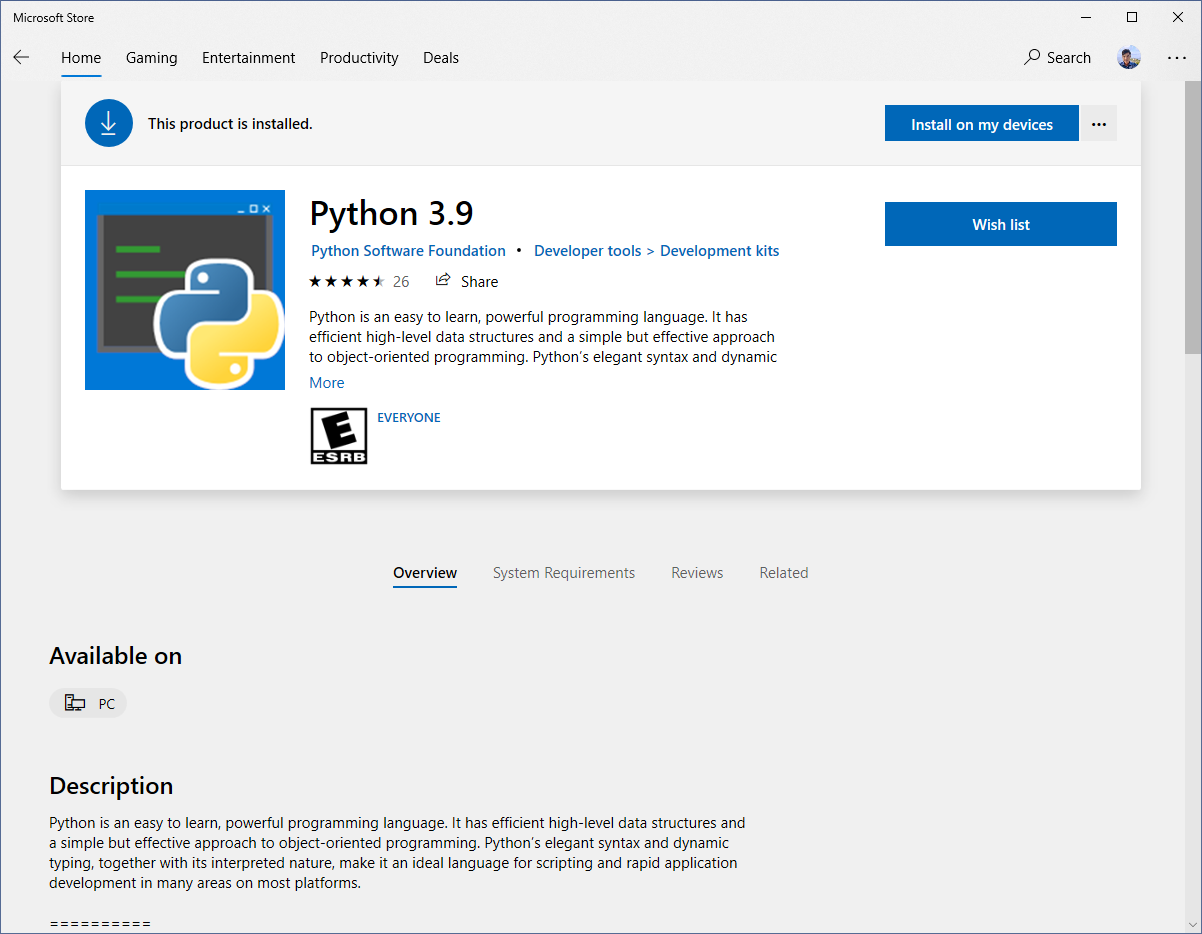
หลังติดตั้งแล้วให้ทำการตรวจสอบ Version ดู
python --version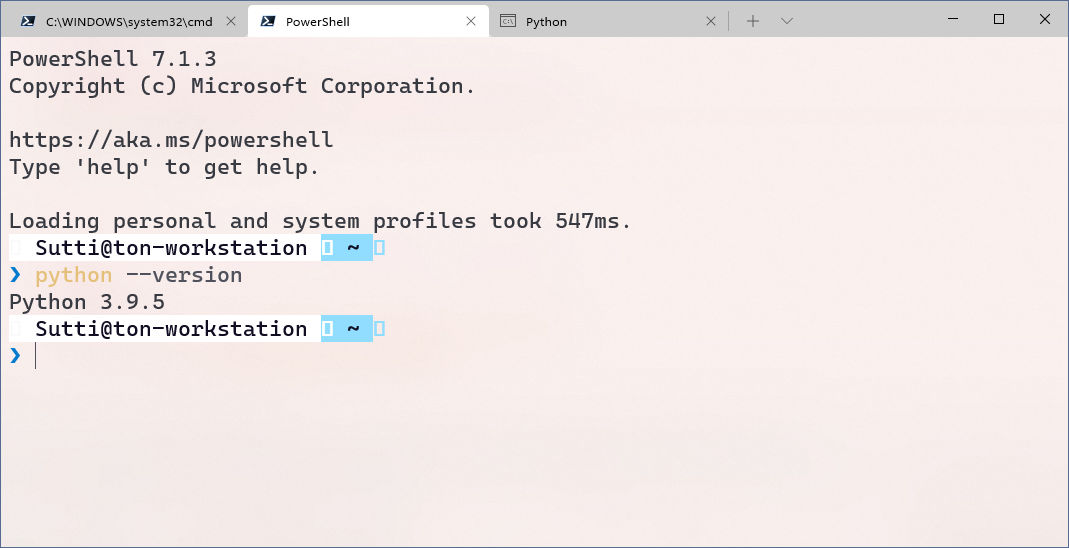
ติดตั้ง JupyterLab
ติดตั้งผ่าน Windows Terminal หรือ Command Prompt
pip install jupyterlabหลังจากติดตั้งแล้ว ให้ทดลองรันโดยใช้
jupyter labหากไม่สามารถรันได้ โดยแจ้งข้อความผิดพลาดที่ว่าไม่พบคำสั่ง jupyter นั้นอาจเกิดจากตัวติดตั้งไม่ได้เพิ่ม environment variables ให้ตรวจสอบที่อยู่ของ jupyter.exe ก่อน โดย Python Script ที่ติดตั้งจาก Pip จะไปอยู่ที่
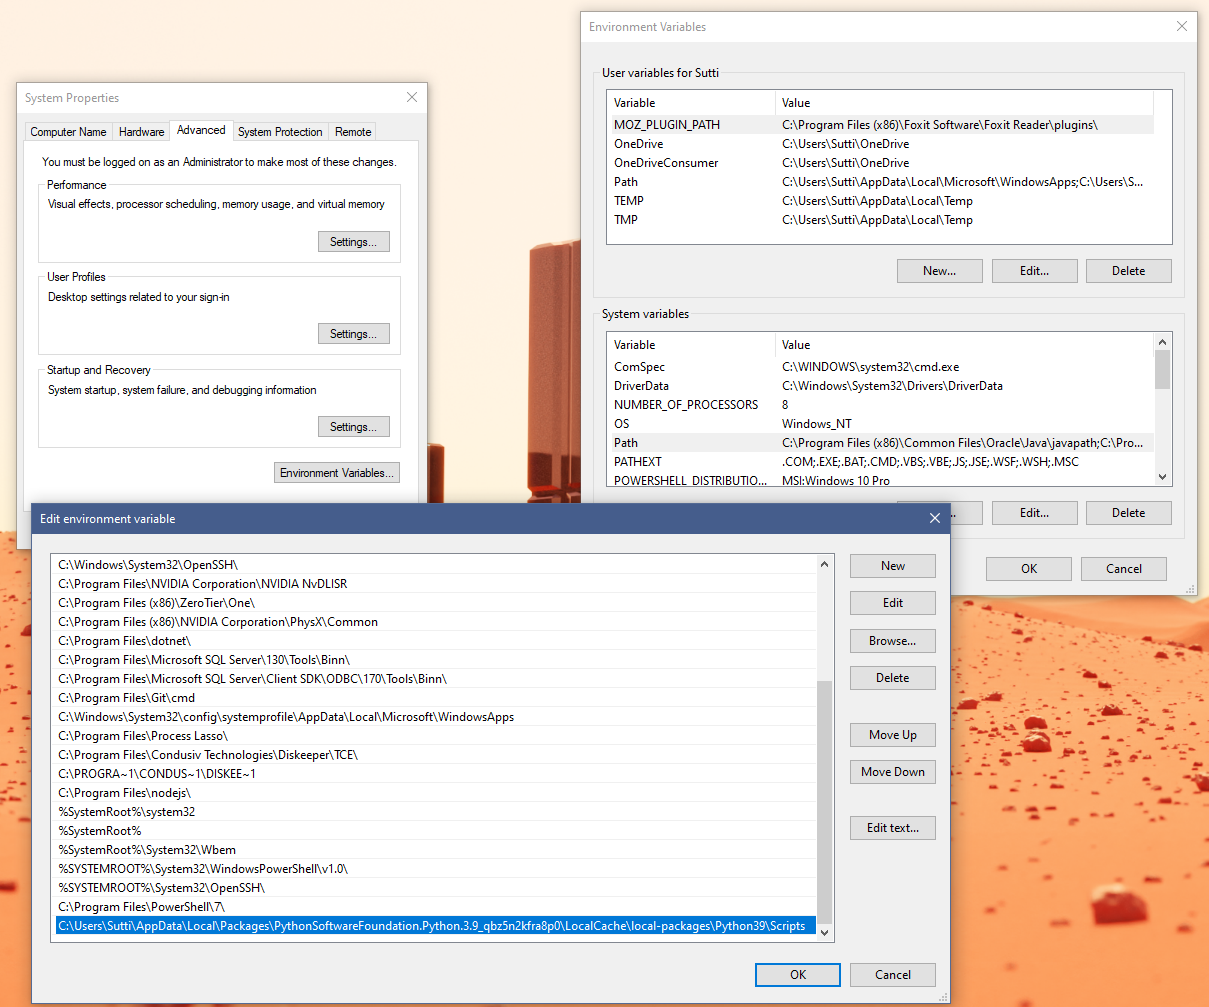
C:\Users\{User-Name}\AppData\Local\Packages\PythonSoftwareFoundation.Python.3.9_qbz5n2kfra8p0\LocalCache\local-packages\Python39\Scripts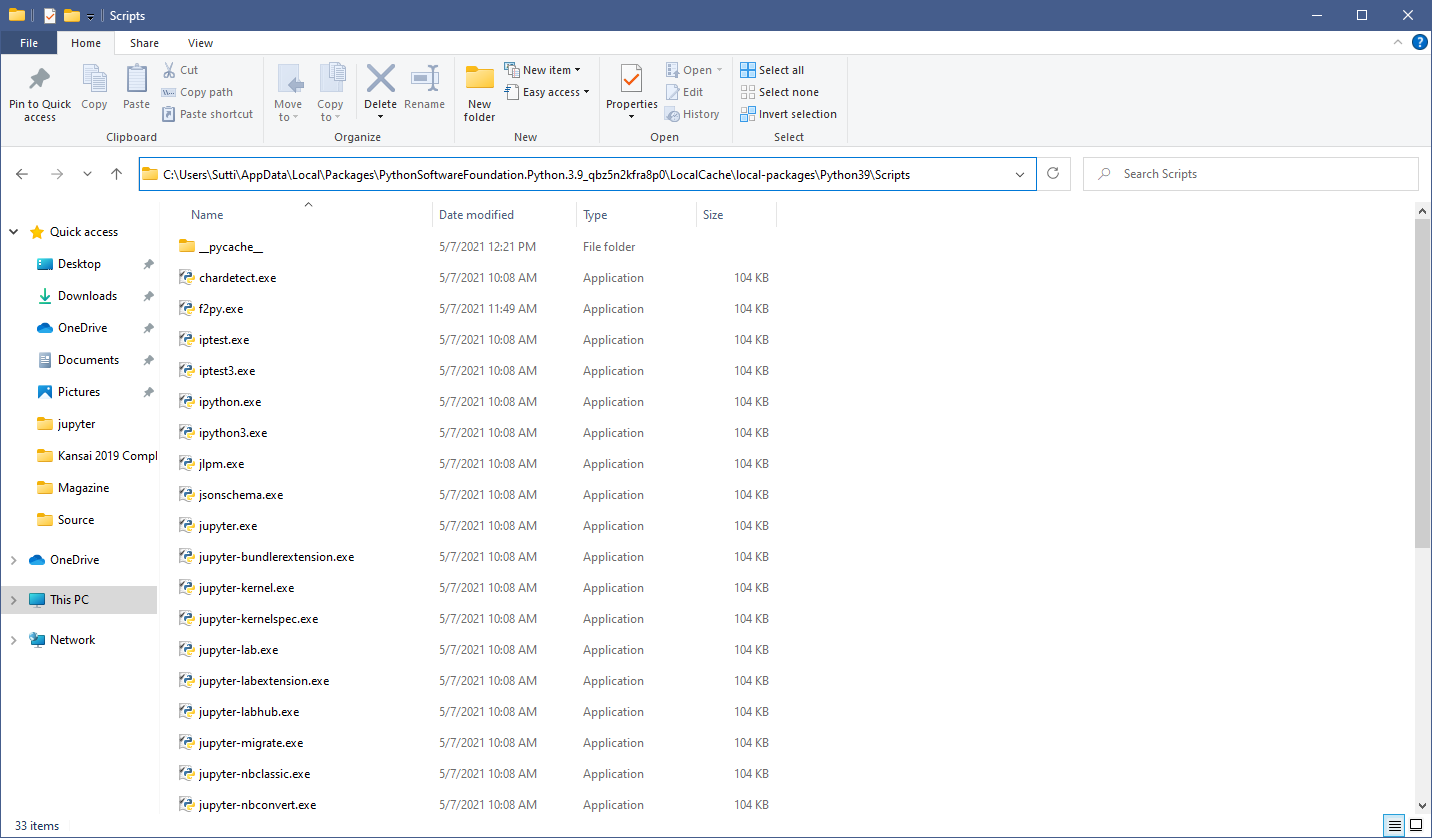
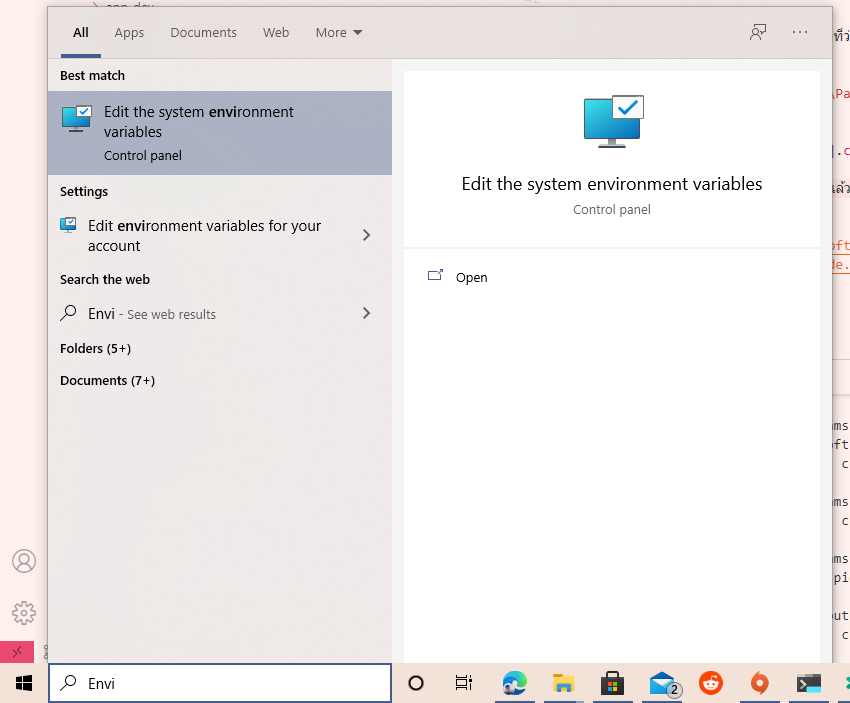
เมื่อเจอกับไฟล์ jupyter.exe ในโฟลเดอร์นี้แล้วให้ทำการเพิ่ม environment variables โดยเพิ่มไปที่ System variables ที่ชื่อว่า Path ตามรูป
จากนั้นให้ปิด Command Prompt / Windows Terminal แล้วเปิดใหม่เพื่อให้มันโหลด environment variables แล้วรัน jupyter lab อีกครั้ง จะได้แบบนี้
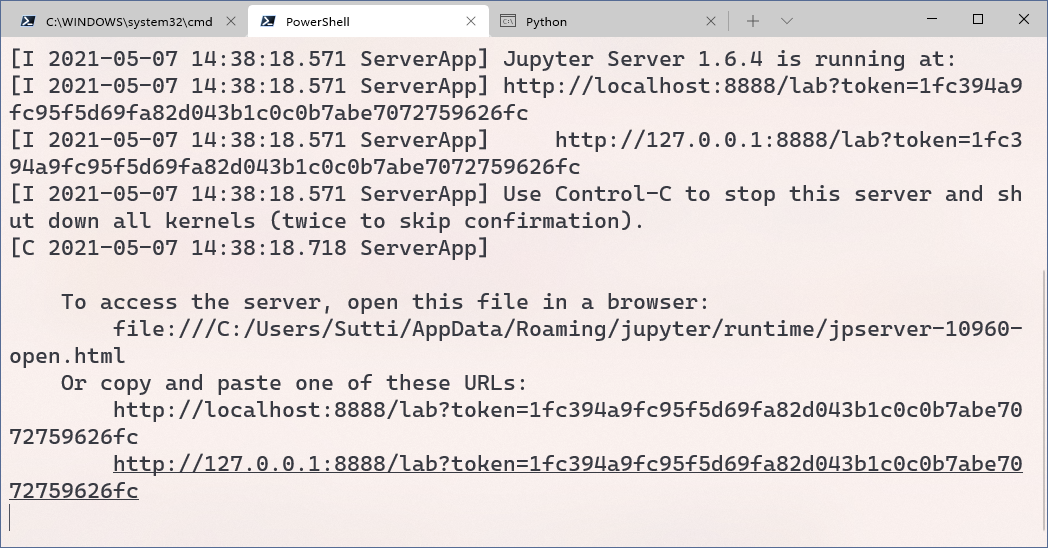
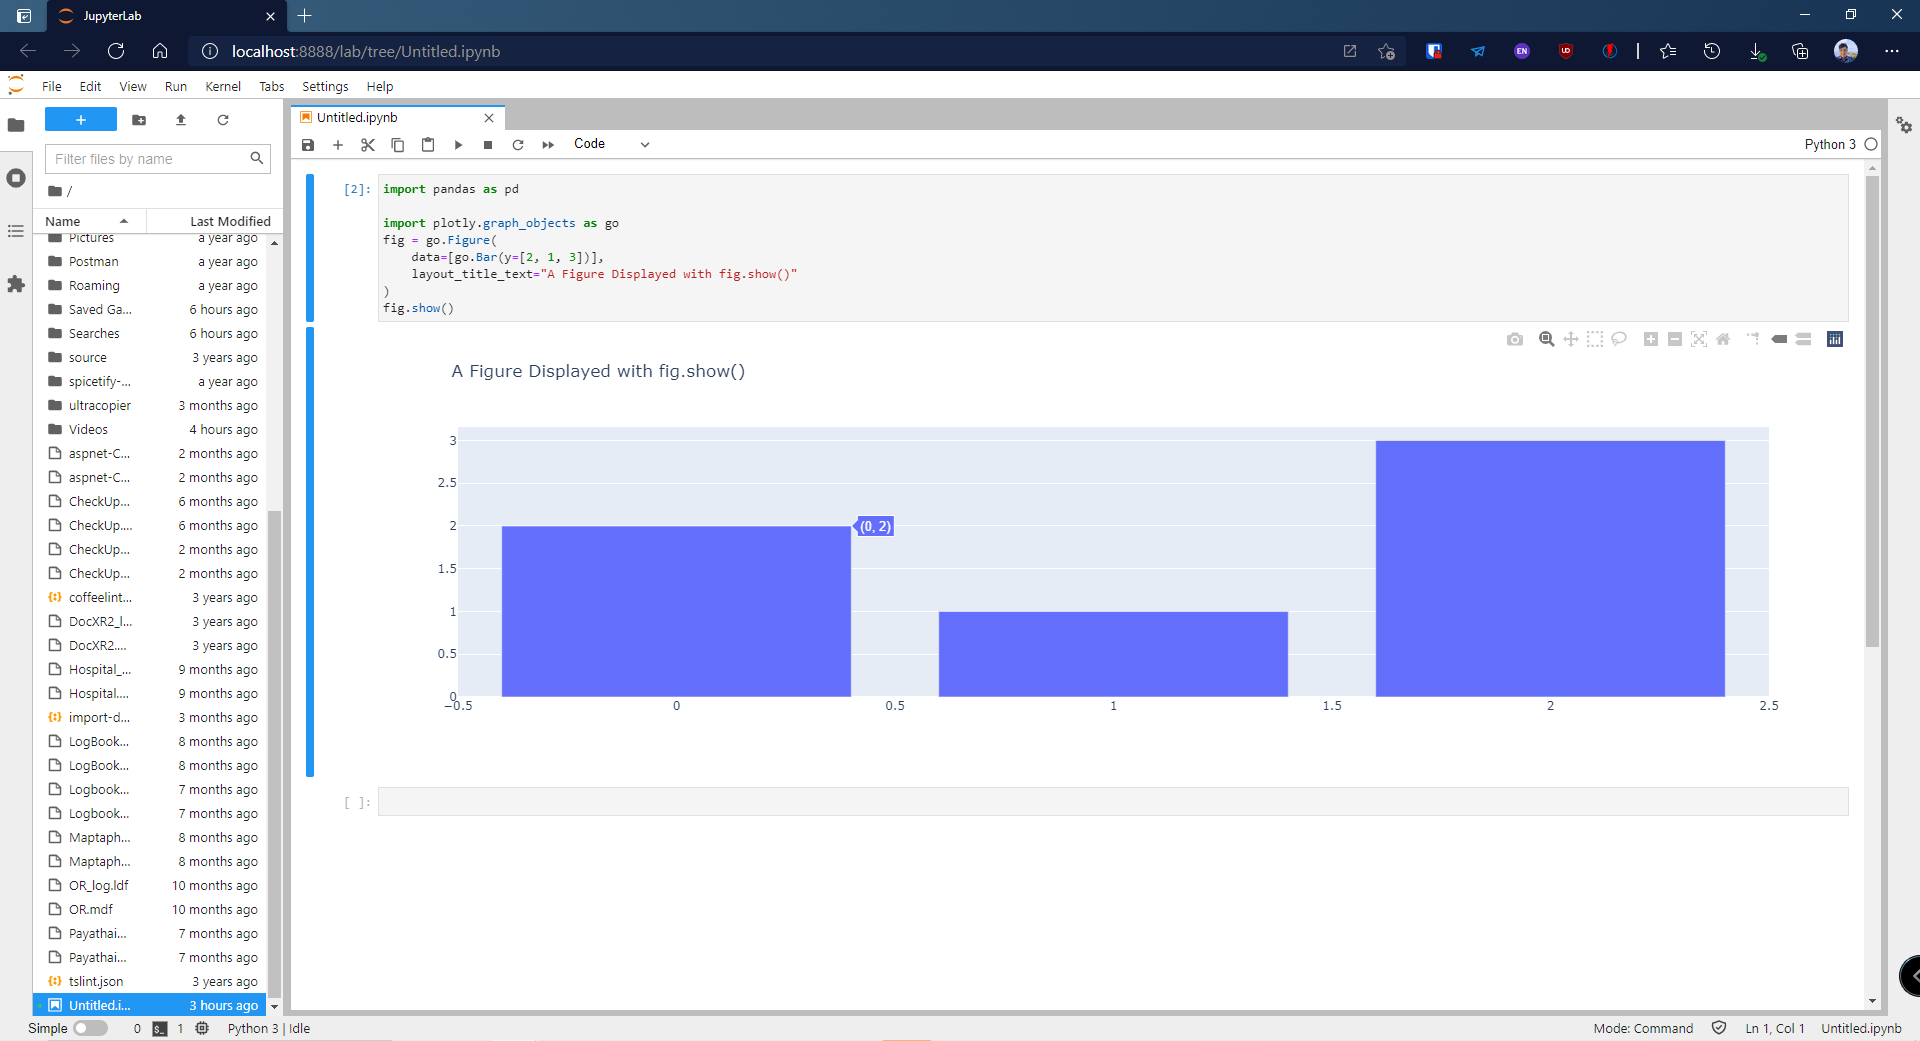
ให้คลิก URL ที่มันบอกเพื่อเปิด Jupyter Lab ใน Browser
ติดตั้ง Libraries ที่จำเป็น
Pandas
pip install pandasPlotly
pip install plotly
pip install jupyterlab ipywidgets
jupyter labextension install jupyterlab-plotly
jupyter labextension install @jupyter-widgets/jupyterlab-manager plotlywidget
Visual Studio Code
ทำการติดตั้ง Extension ชื่อ Python Pylance และ Jupyter
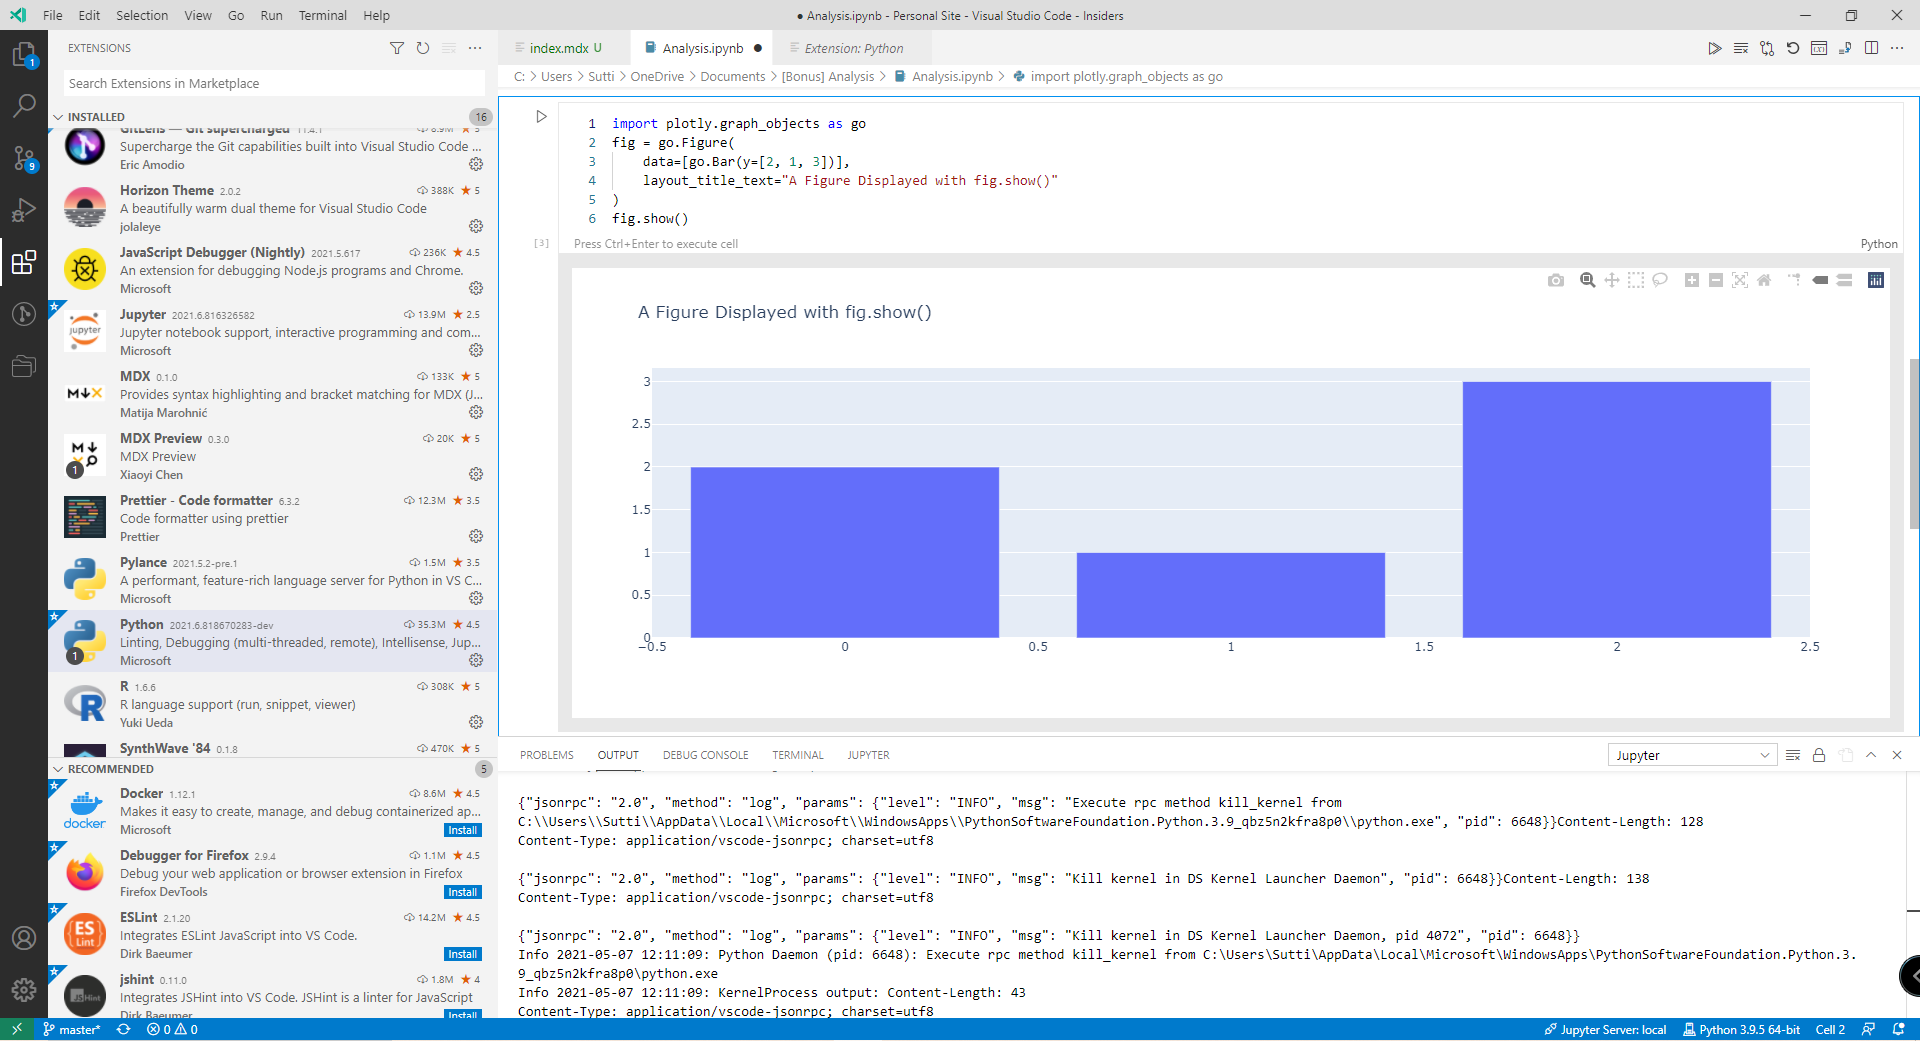
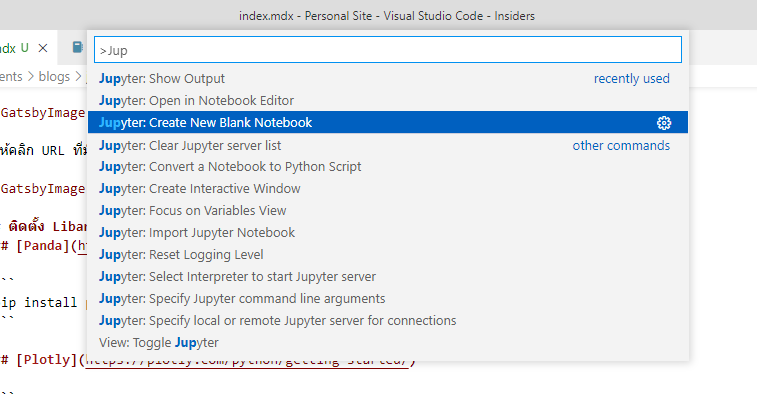
จากนั้นกด Ctrl+Shift+P เพื่อเปิด Command Palette แล้วพิมพ์ Jupyter แล้วเลือก Create New Blank Notebook ก็เรียบร้อย